Spring Cloud学习笔记19——如何集成 Zuul
本文共 1873 字,大约阅读时间需要 6 分钟。
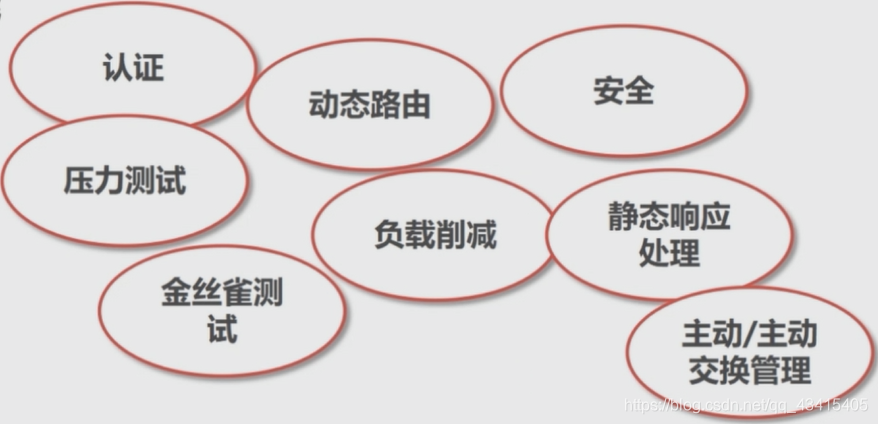
Zuul的功能
集成Zuul
开发环境
JDK8+Gradle4+Redis 3.2.100Spring Boot 2.0.0.M3Spring Cloud Starter Netflix Eureka Client Finchley.M2Spring Cloud Starter Netflix Zuul Finchley.M2
创建项目
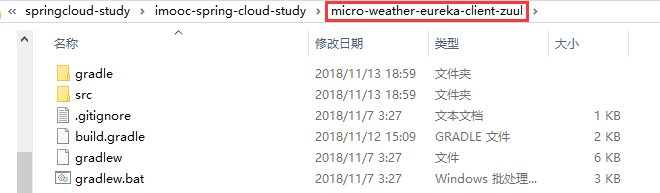
以之前的micro-weather-eureka-client为蓝本,创建micro-weather-eureka-client-zuul项目
修改源码
修改build.gradle配置,添加Zuul依赖:
//依赖关系dependencies { //Eureka Client compile('org.springframework.cloud:spring-cloud-starter-netflix-eureka-client') //Zuul compile('org.springframework.cloud:spring-cloud-starter-netflix-zuul') //该依赖用于测试阶段 testCompile('org.springframework.boot:spring-boot-starter-test')} 修改com.study.spring.cloud.weather包下的Application类,加入@EnableZuulProxy注解:
package com.study.spring.cloud.weather;import org.springframework.boot.SpringApplication;import org.springframework.boot.autoconfigure.SpringBootApplication;import org.springframework.cloud.client.discovery.EnableDiscoveryClient;import org.springframework.cloud.netflix.zuul.EnableZuulProxy;/* * @SpringBootApplication注解声明Spring Boot应用 * 作用等同于@Configuration, @EnableAutoConfiguration, @ComponentScan, * 简化Spring配置*/@SpringBootApplication//启用可发现的客户端@EnableDiscoveryClient//启用Zuul的代理功能@EnableZuulProxy//Application类一定要处于整个工程的根目录下,这样它才能根据配置去扫描子节点下的Spring的Beanpublic class Application { public static void main(String[] args) { SpringApplication.run(Application.class, args); }} 修改application.properties配置文件:
#应用名称spring.application.name=micro-weather-eureka-client-zuul#注册服务器的URLeureka.client.service-url.defaultZone=http://localhost:8761/eureka/#zuul本身的配置#设置需要路由的URL,此处设置hi资源的路径zuul.routes.hi.path=/hi/**#访问hi应用时将请求转发到某应用的应用名称zuul.routes.hi.service-id=micro-weather-eureka-client
运行
先通过IDE运行micro-weather-eureka-server
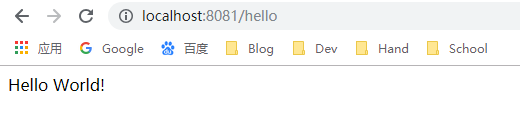
再通过命令行编译、运行micro-weather-eureka-client,注意指定运行端口(如8081),完成后可访问http://localhost:8081/hello页面:
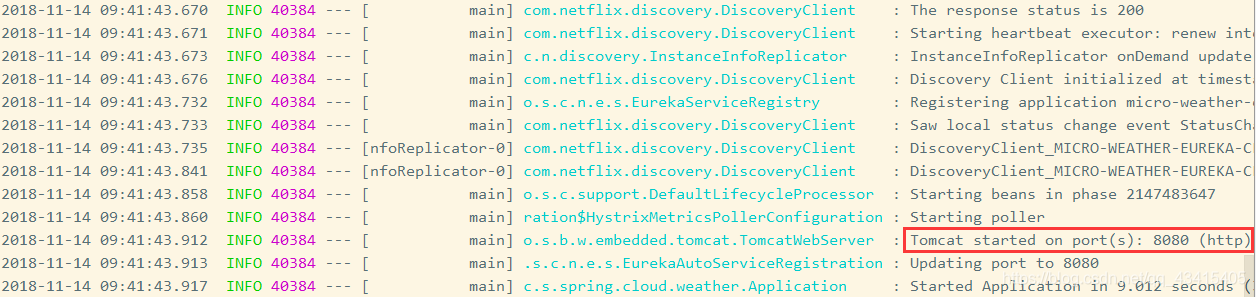
最后通过IDE运行micro-weather-eureka-client-zuul,运行结果如下:
 访问
访问http://localhost:8080/hello页面:  访问
访问http://localhost:8080/hi/hello页面: 
转载地址:http://ggiwi.baihongyu.com/
你可能感兴趣的文章
创建新项目
查看>>
印刷工艺- 喷墨印刷
查看>>
印刷工艺流程
查看>>
印刷业ERP启蒙
查看>>
Java8 Lambda表达式使用集合(笔记)
查看>>
Java魔法师Unsafe
查看>>
spring cloud java.lang.NoClassDefFoundError: javax/servlet/http/HttpServletRequest
查看>>
Centos系统安装MySQL(整理)
查看>>
postgresql计算两点距离(经纬度地理位置)
查看>>
postgres多边形存储--解决 Points of LinearRing do not form a closed linestring
查看>>
postgresql+postgis空间数据库总结
查看>>
spring 之 Http Cache 和 Etag(转)
查看>>
基于Lucene查询原理分析Elasticsearch的性能(转)
查看>>
HttpClient请求外部服务器NoHttpResponseException
查看>>
springCloud升级到Finchley.RELEASE,SpringBoot升级到2.0.4
查看>>
Spring boot + Arthas
查看>>
omitted for duplicate jar包冲突排查
查看>>
如何保证缓存与数据库的双写一致性?
查看>>
java.lang.ArrayStoreException: sun.reflect.annotation.TypeNotPresentExceptionProxy排查
查看>>
深浅拷贝,深浅克隆clone
查看>>